Network IG RPT, Network AP RPT, Remote Exploits & Privilege Escalation
Introduction
This unit presents the initial steps to use Core Impact in the Core Impact Azure demo environment, and then will present an overview of basic pen testing features of the product through the Rapid Penetration Testing modules.
Features
- Create workspace for a pen test session
- Scan network hosts and do service identification
- Launch remote exploits on network hosts
- Launch identity verifiers on network hosts
- Obtain local information from compromised hosts
- Escalate privileges
- Perform cleanup of deployed OS Agents
- Generate report of found vulnerabilities
Highlighted Modules
- Network Information Gathering RPT
- Network Attack and Penetration RPT
- Network Local Information Gathering RPT
- Network Privilege Escalation RPT
- Network Clean Up RPT
- Network Report Generation RPT
- Shell
- File Browser
- Samba Pipe dlopen Remote Code Execution Exploit
- SSH Identity Verifier
- Linux Kernel eBPF Local Privilege Escalation Exploit
References
- Samba Pipe dlopen Remote Code Execution Exploit
- Vulnerability: CVE-2017-7494
- Samba Vulnerability CVE-2017-7494
- Linux Kernel eBPF Local Privilege Escalation Exploit
- Weak Credentials
Walkthrough
Hosts
- Samba Pipe dlopen Remote Code Execution Exploit
- Hostname:
ubuntu.internal.cloudapp.net - IP Address:
10.27.34.67
- Hostname:
- Linux Kernel eBPF Local Privilege Escalation Exploit
- Hostname:
test-virtual-machine.internal.cloudapp.net - IP Address:
10.27.34.83
- Hostname:
Connect to Demo Environment
- From your workstation, launch Remote Desktop Connection and connect to the provided IP address for the Impact Client VM in the demo environment.
- When credentials are requested, select More choices and then Use a different account.
- Enter
.\Impactfor username. - Enter the provided password for the user.
- Click OK
Install Core Impact License Bundle
The desktop of the Impact Client VM will have the license bundle package for the current user and environment.

- Double-click on the license bundle package.
- Enter the provided passphrase and click Decrypt.
- This will decrypt the license bundle installer and launch it.
- Click Install.
- Wait for the installer to complete.
- Click Finish.
- The installer will launch Core Impact.
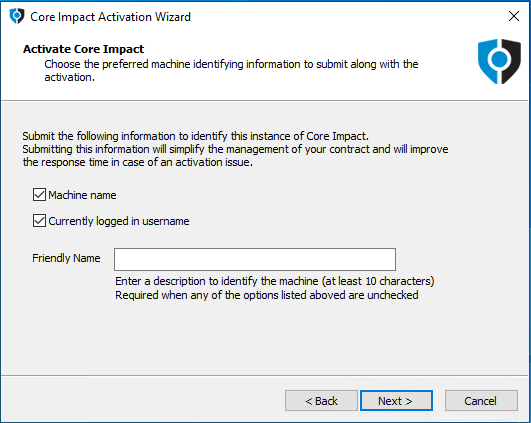
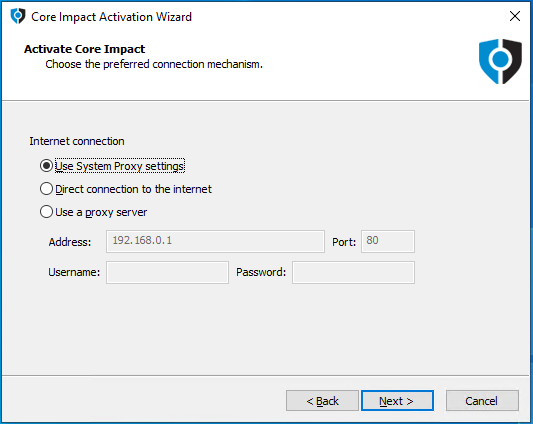
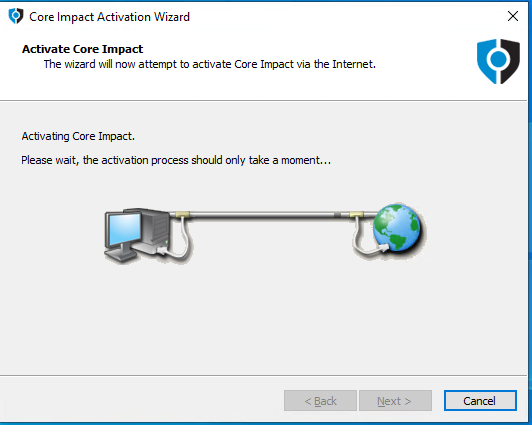
Active Core Impact
Core Impact needs to be activated on the machine, so follow the wizard on the demo environment.
- Click Next.
- Click Next.
- Click Next.
- Click Next.
- Wait for the activation to complete.
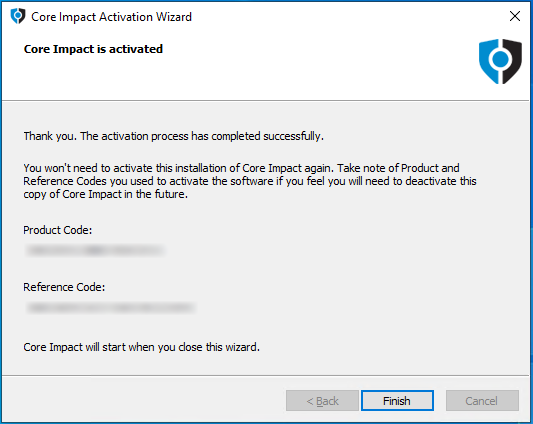
- Click Finish.
Create Workspace
All pentesting tasks and results in Core Impact are performed in workspaces that can be used to separate pen testing sessions and review results at a later time.
- From the Core Impact dashboard, go to Workspaces on the left menu, click Create Workspace and click Blank Workspace..
- Enter a workspace name and passphrase (which must be at least 8 characters long)
- Click Finish.
- A new and empty workspace is opened.
Network Information Gathering
- From the RPT Pane, select and click Network Information Gathering RPT to discover hosts on the network.
- Click Next.

- Click Next.
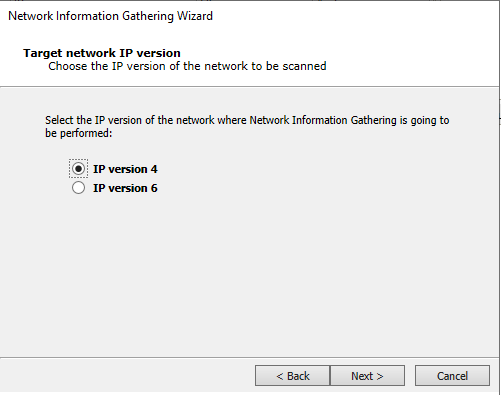
- Click Next.
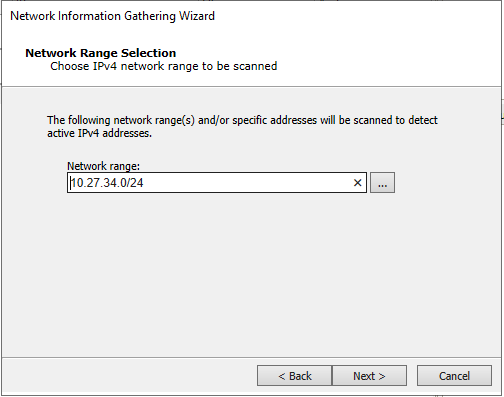
- Click Next.
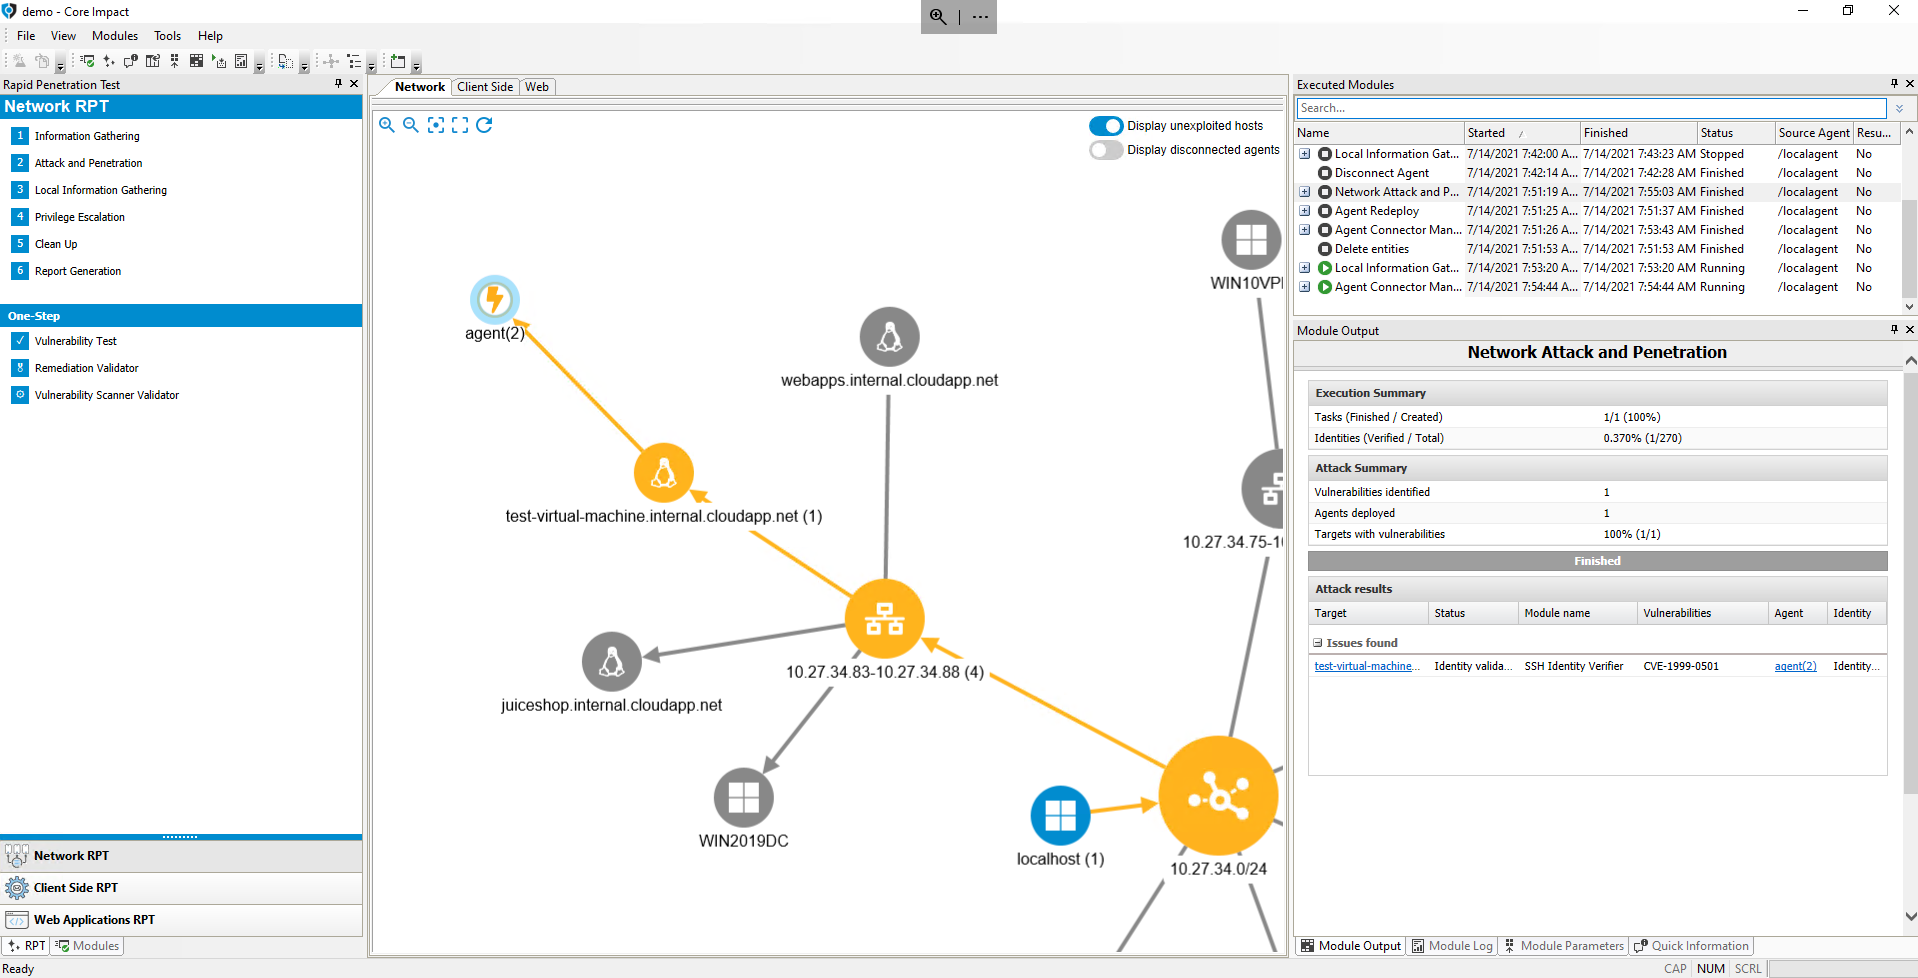
The network range will be initialized to the local network of the currently selected network interface of Core Impact's localagent: 10.27.34.0/24.
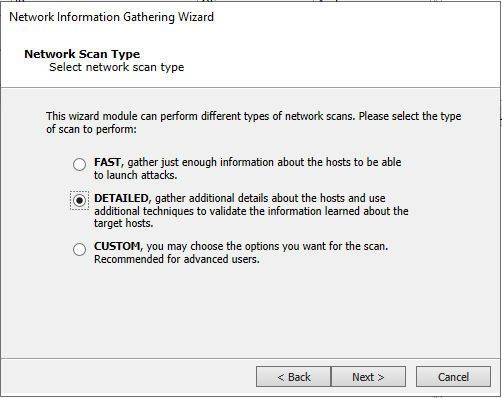
- Select Fast and click Finish.
- Wait for Network IG RPT to complete gathering information about the network.
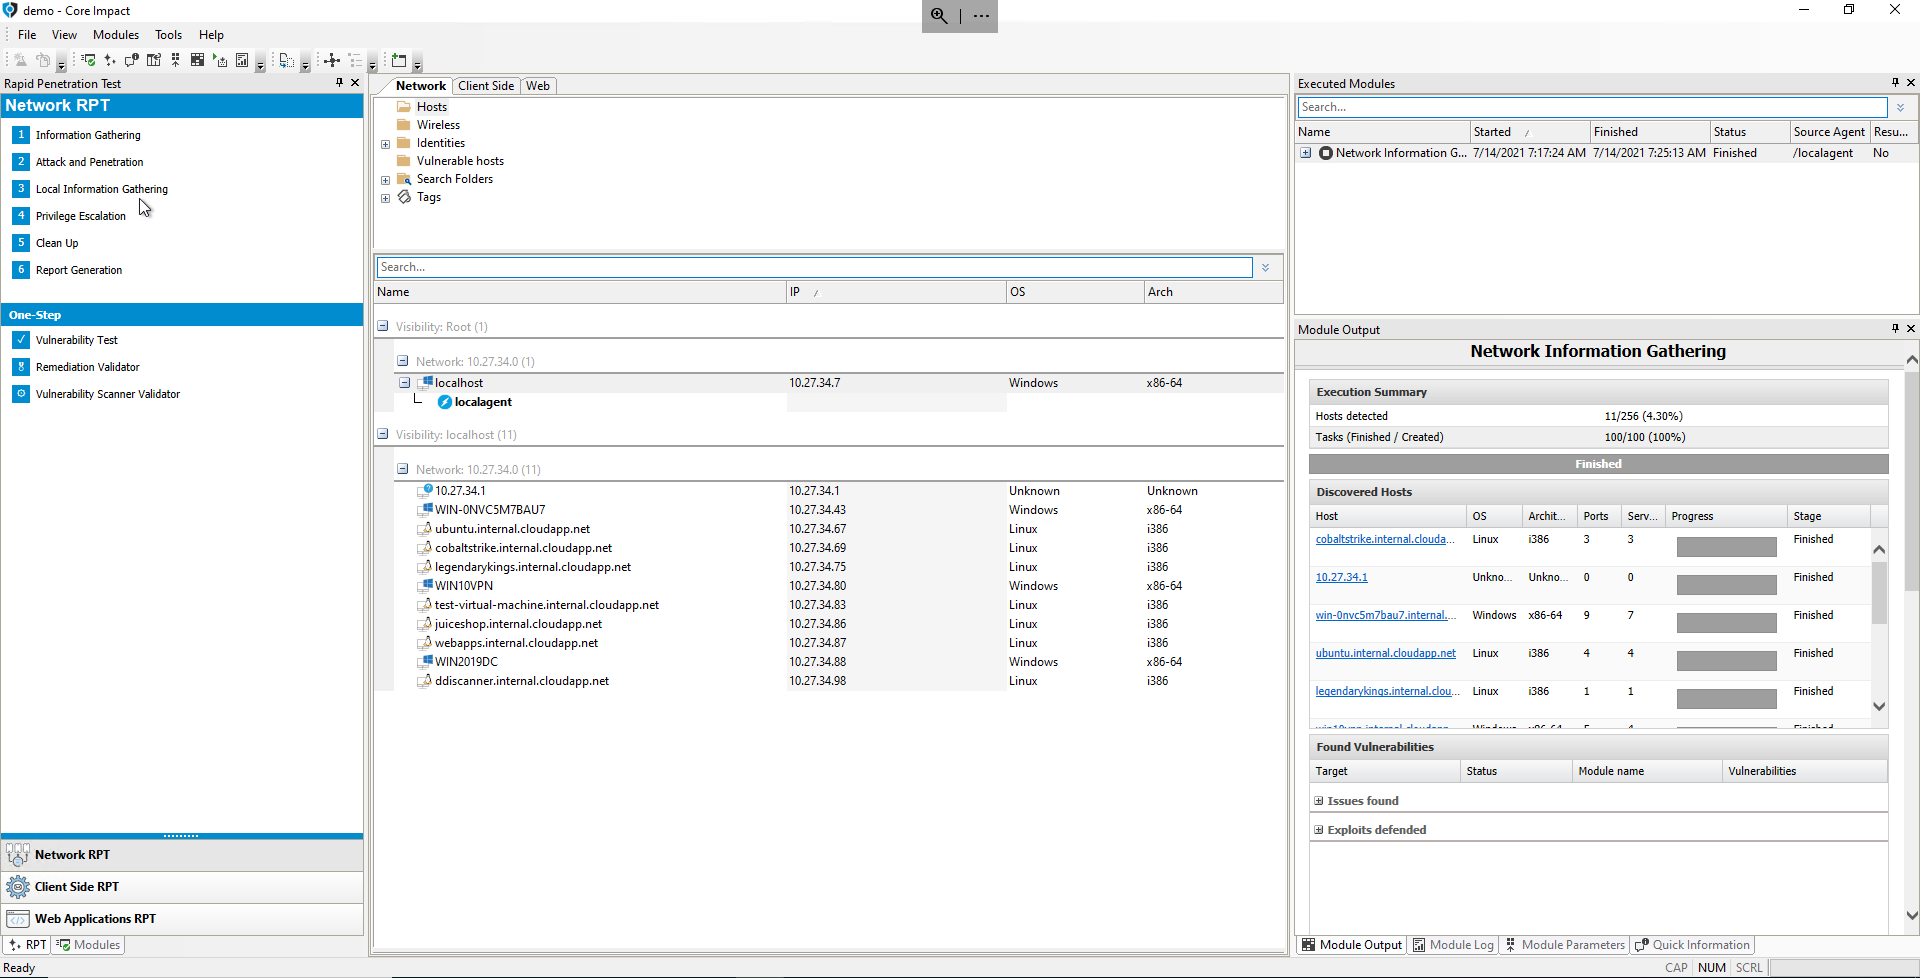
- The network topology can be displayed as a chart changing the view through the Menu View > Show entities as > Map option.
Network Attack and Penetration With Remote Exploits
Due to a known issue recently found, before launching the Network Attack and Penetration it is needed to modify the architecture of the target Host. To do it, right click on the ubuntu.internal.cloudapp.net (10.27.34.67) > Properties > Modify the arch from x86-64 to i386.
- From the RPT Pane, click on Network Attack and Penetration RPT and select
ubuntu.internal.cloudapp.net(10.27.34.67) as the target host.
- Click Next.
- Click Next.

- Click Next.
- At this point we're only going to launch remote exploits.
- Click Next.
- The Stop launching new modules on a target after an OS Agent is deployed is intended to reduce execution time if the goal is just to compromise a host.
- If the goal is to be exhaustive in detecting (and trying to exploit) vulnerabilities on a host, this option should be unchecked.
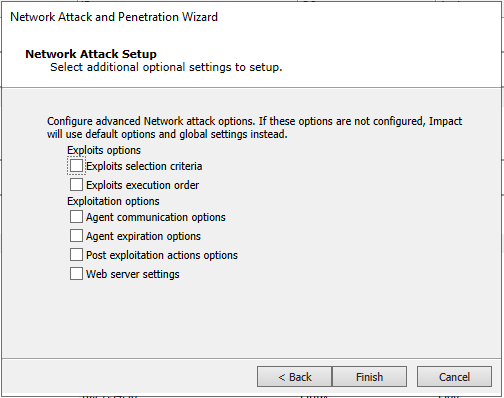
- Click Finish.
- Wait for Network Attack and Penetration RPT to complete.
- Exploit Samba Pipe dlopen Remote Code Execution Exploit should have been succesful in detecting and exploiting the CVE-2017-7494 vulnerability, and an OS Agent should have been deployed on the host.
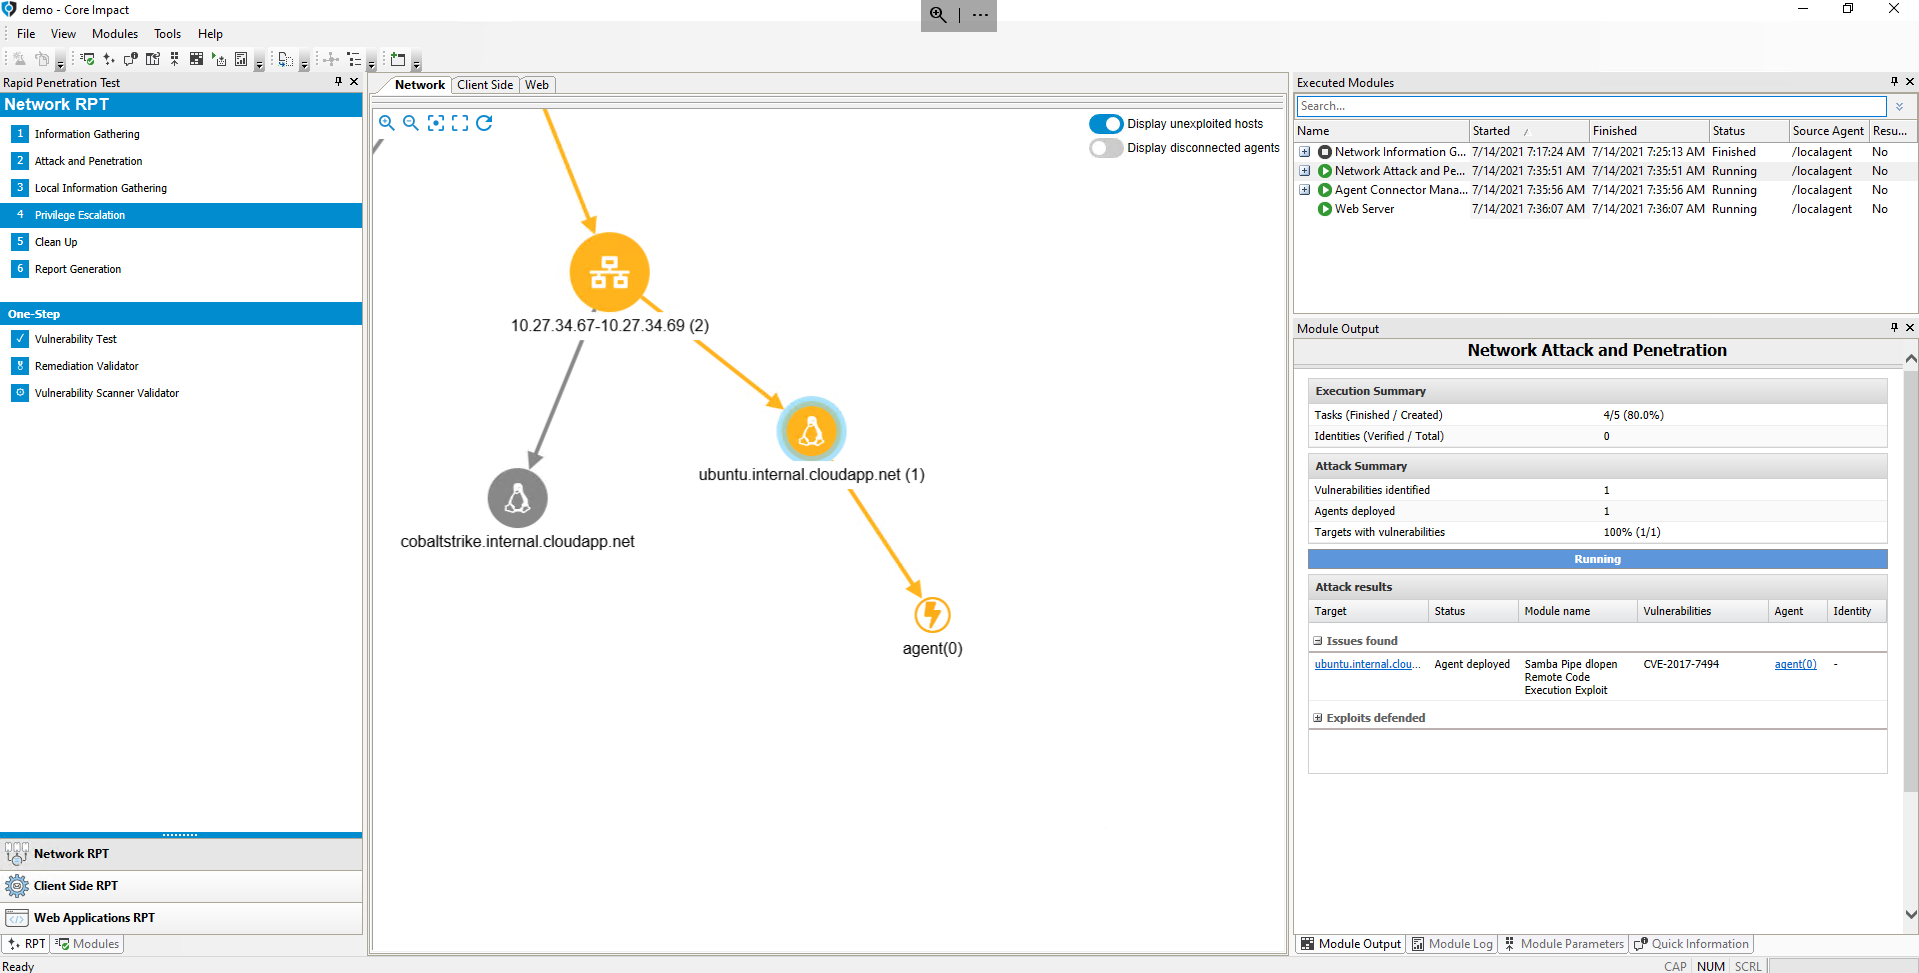
Interacting With Deployed OS Agent
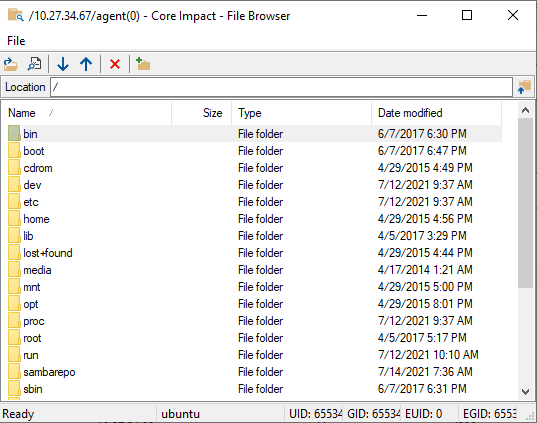
Control of a compromised host is now possible through the deployed OS Agent. This agent has capabilities to explore the local filesystem, launch programs and create new network connections from the host.
In order to explore the compromised host, Core Impact provides shells and file browsing capabilities.
- Right-click on the OS Agent deployed on the
ubuntu.internal.cloudapp.net(10.27.34.67) host, and select Shell. - You can execute commands to explore the filesystem and launch programs on the host.
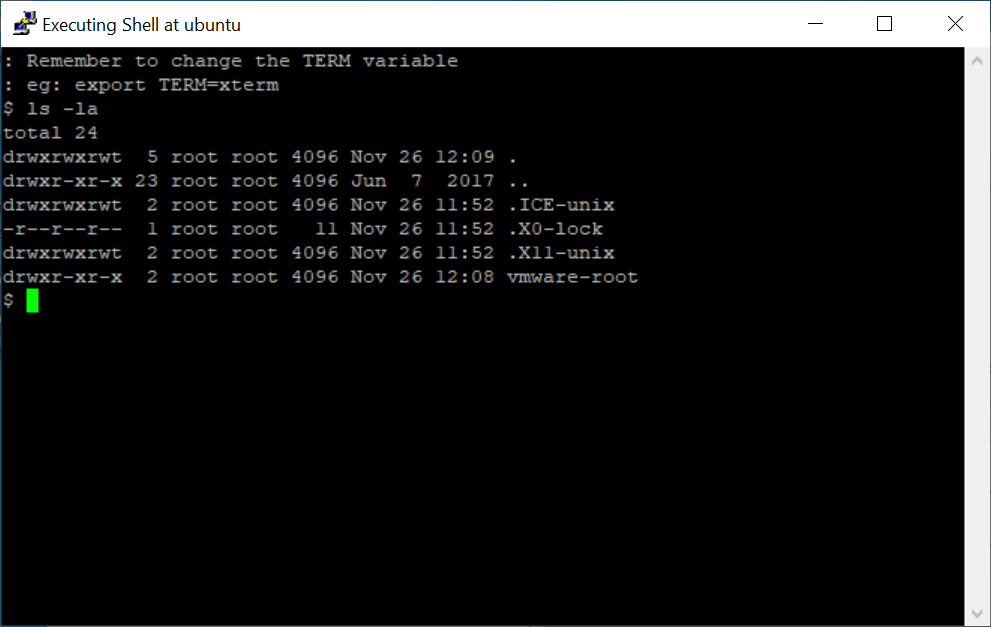
- Close the Shell window (or execute the
exitcommand to close it). - Right-click again on the OS Agent and select Browse Files.
- The file browser is launched to interactively explore the host's filesystem, which has capabilities to download/upload files from the host.
In addition to these modules, Core Impact has modules to retrieve local information from a host were an OS Agent has been deployed, which you can find in the: Information Gathering/Local category of the Modules pane.
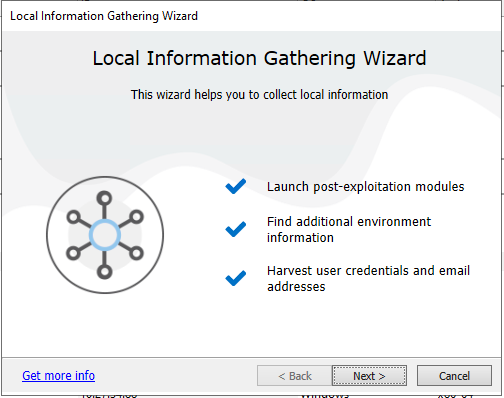
Network Local Information Gathering
For convenience, several local modules that perform information gathering on a host can be launched through the Network Local Information Gathering RPT module.
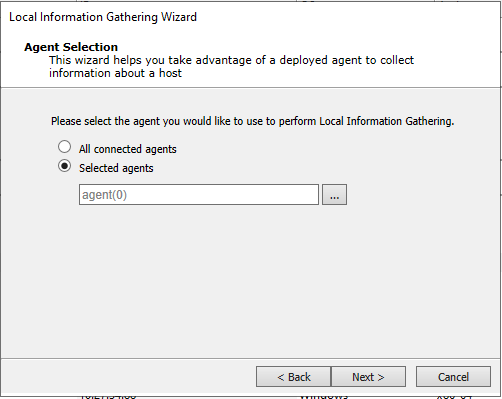
- From the RPT Pane, select Network Local Information Gathering RPT and drag & drop it on the OS Agent deployed on the
ubuntu.internal.cloudapp.net(10.27.34.67) host.
- Click Next.
- Click Next.
The OS Agent is already selected because the module has been dragged & dropped on it. Alternatively, you could have just clicked on the RPT module and in this step used the ellipsis (...) button to select it (or configured the module to run on all available OS Agents).
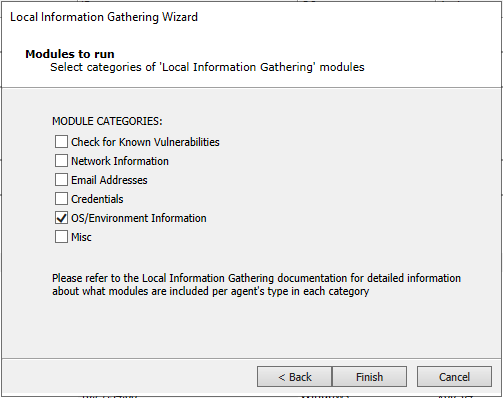
- Uncheck all categories except OS/Environment Information to retrieve basic information about the compromised host.
Other available categories can be used to launch modules to detect other issues that the host may be vulnerable to, try to extract credentials from the operating system and or browser/email programs, etc.
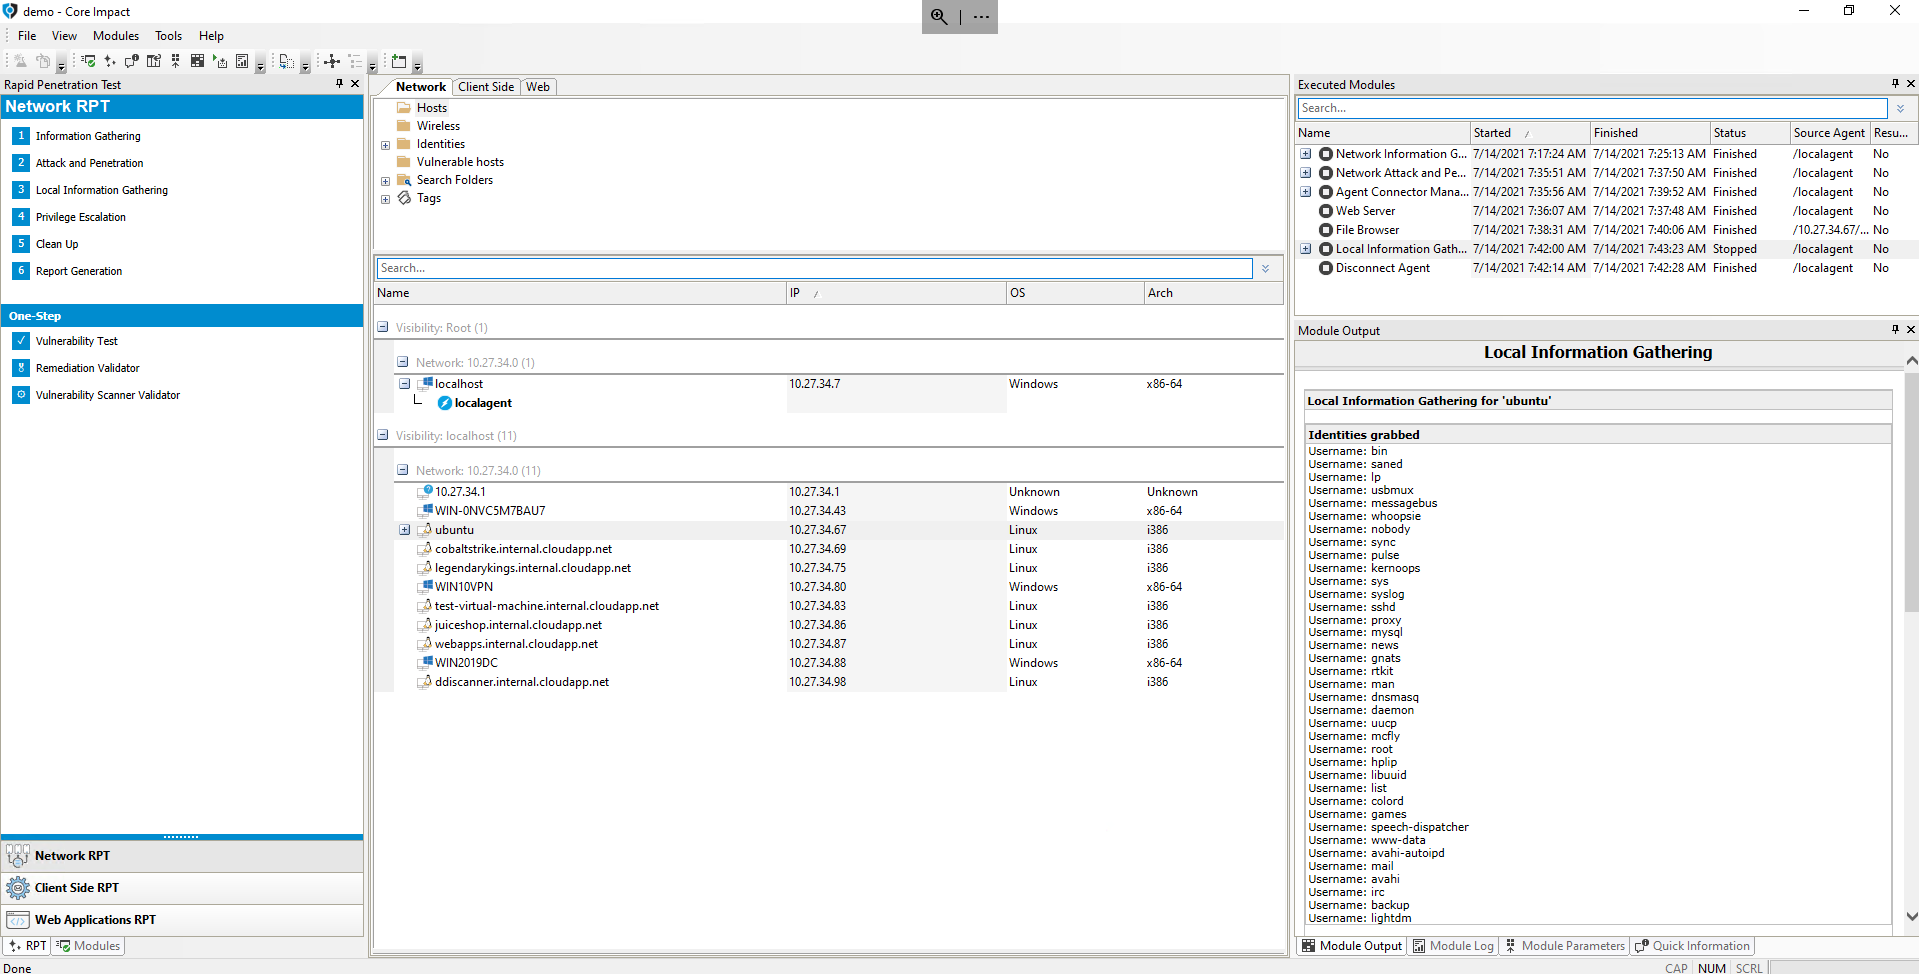
- Click Finish.
The Local Information Gathering module will be executed, and several child modules can be seen after expanding it in the Executed Modules pane, each of which will provide output and log associated to the task they perform.
Network Attack and Penetration With Identity Verifiers
In this section we'll launch Network Attack and Penetration again, but instead of using it to launch exploits onto the target systems, the identity verifiers functionality will be used to try and detect weak credentials by performing dictionary attacks on the target systems.
If you select the test-virtual-machine.internal.cloudapp.net (10.27.34.83) host, the port & services section in the Quick Information pane will show that the system is running the ssh service, so we'll try to find weak credentials configured on that service.
- From the RPT Pane, drag & drop Network Attack and Penetration RPT on the
test-virtual-machine.internal.cloudapp.net(10.27.34.83) host.
- Click Next.
- Click Next.

- Uncheck the option to launch exploit modules and select the option to launch identity modules.
- Click Next.
- Click Next.
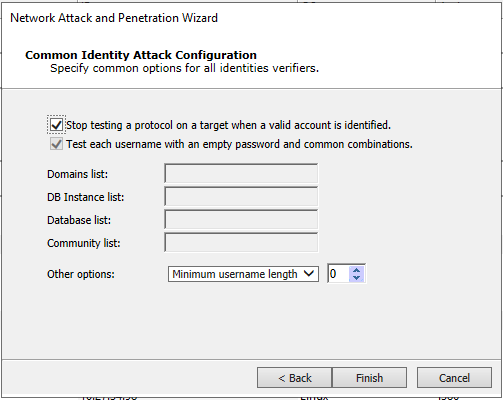
We leave these options checked because we want to try and deploy an OS Agent with valid credentials that the dictionary attack may find.

- Select both options in the Identity verifiers section:
- Identity verifier protocol selection
- Identity verifier attack method
- Click Next.
- Click the Uncheck All button and then check the SSH option.
- Click Next.
- Click Next.
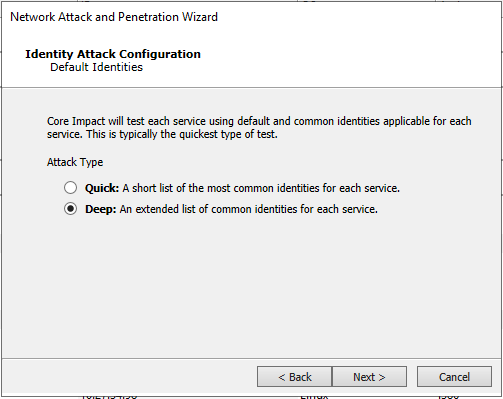
- Select Deep to use an extended list of common username & passwords for the dictionary attack.
- Click Next.
- Click Finish.
The Network Attack and Penetration module will launch and run the SSH Identity Verifier. This module spawns several child tasks to perform tests in parallel based on the configuration, and rotating the tested user names to try to prevent lockout.
After a while, the module should find a valid set of credentials on the target system, and use them to deploy an OS Agent on the host.
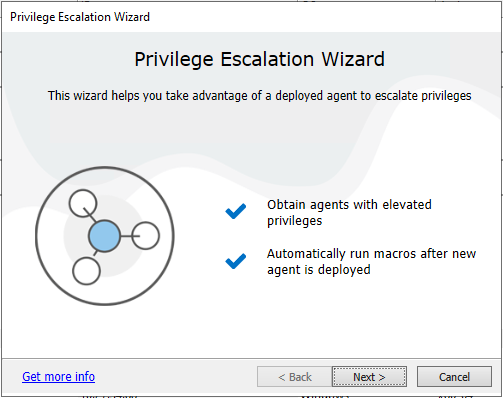
Network Privilege Escalation
Once again, the OS Agent can be leveraged to try and obtain information on the compromised host using local modules, as previously shown.
The OS Agent deployed through the found identity, however, is that of a standard/limited user on the host. We can try and see whether we can elevate privileges on the system by exploiting an unpatched privilege escalation vulnerability.
- From the RPT Pane, select and click Network Privilege Escalation RPT and drag & drop it on the OS Agent deployed on the
test-virtual-machine.internal.cloudapp.net(10.27.34.83) host.
- Click Next.
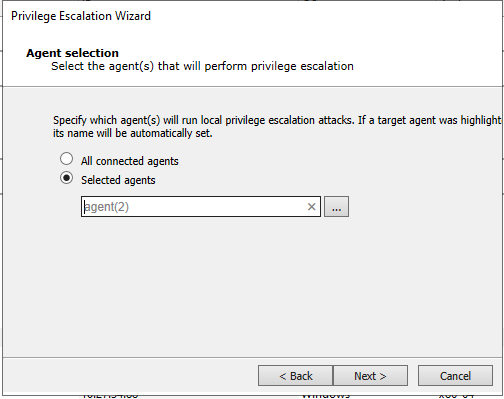
- Click Next.

- Click Next.
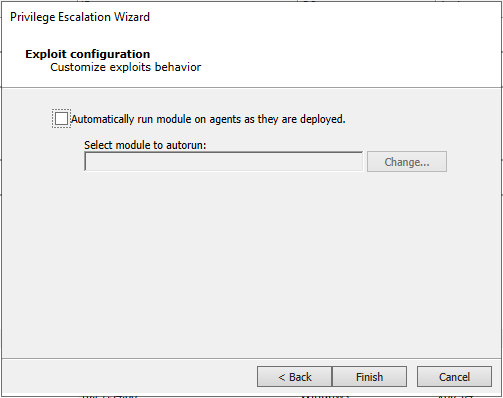
- Click Finish.
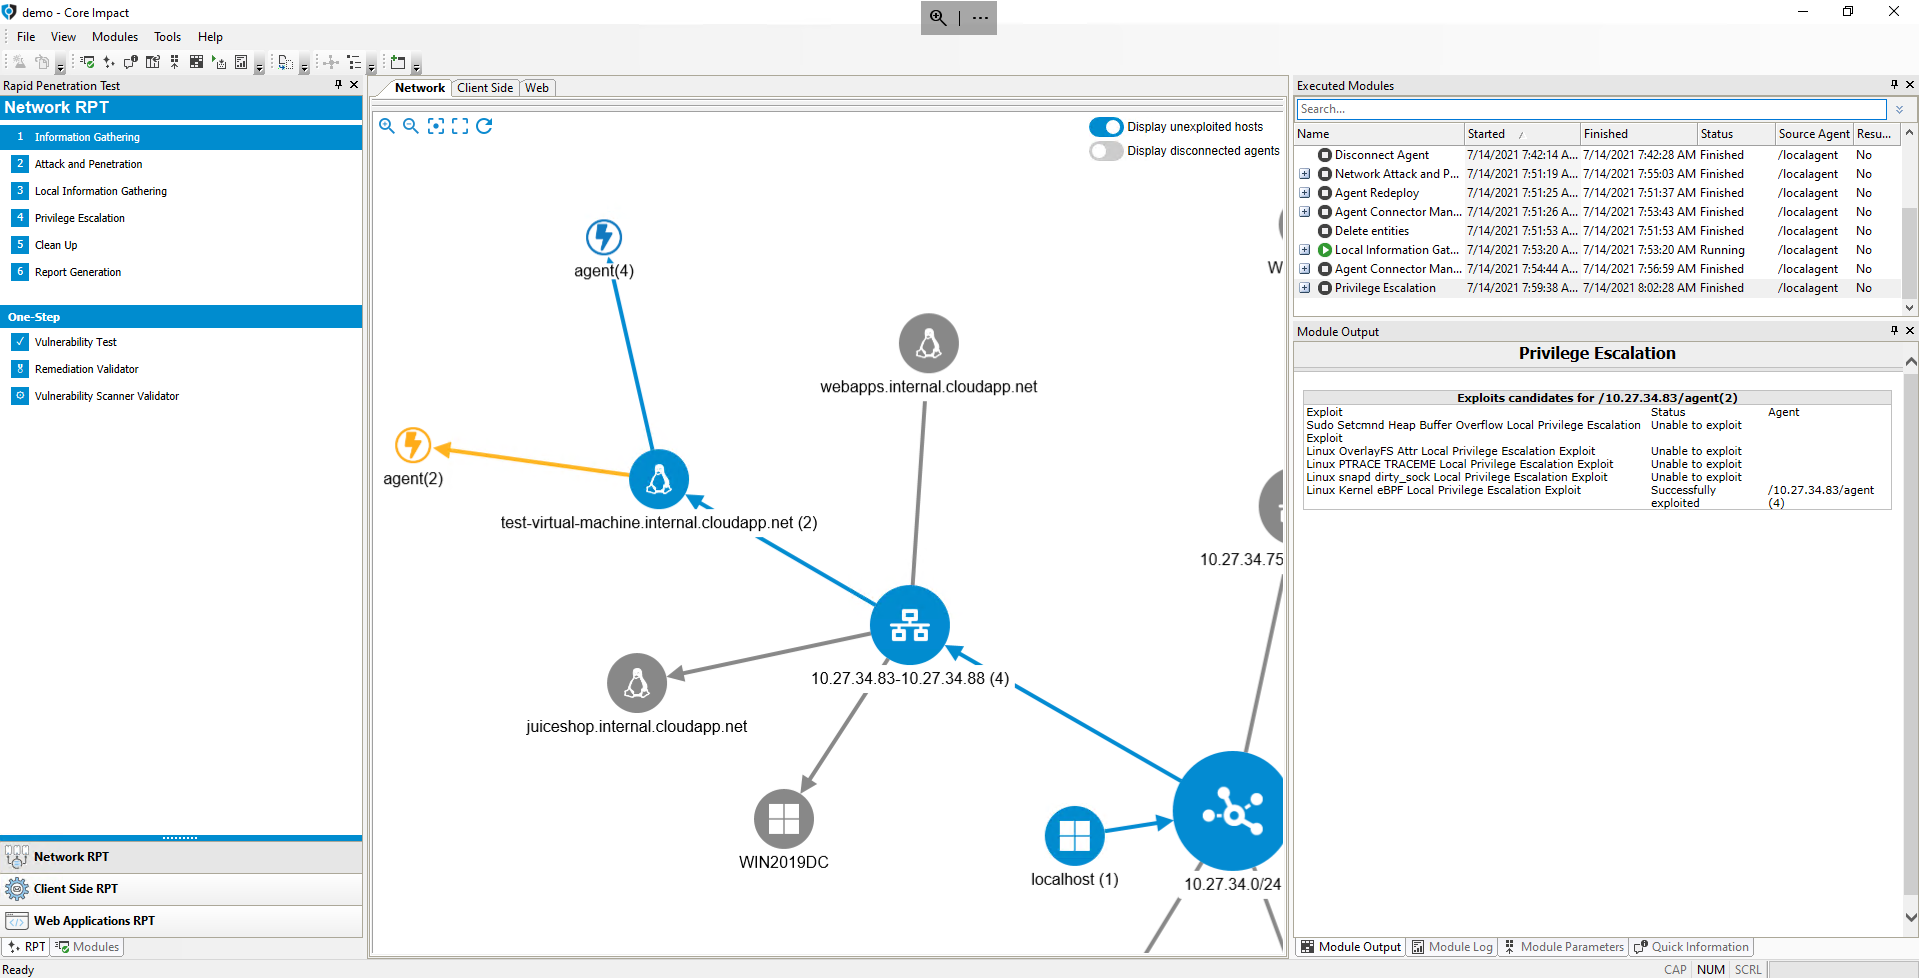
The Privilege Escalation RPT module is launched, which starts launching exploits to try to detect and leverage available vulnerabilities to deploy an OS Agent with additional privileges.
After a while you can see that this is achieved with the Linux Kernel eBPF Local Privilege Escalation Exploit module.
Clean Up
When the pen testing session is complete, OS Agents deployed on the compromised hosts can be uninstalled to remove running processes and connections to those hosts through Network Clean Up RPT.
- From the RPT Pane, select and click Network Clean Up RPT.
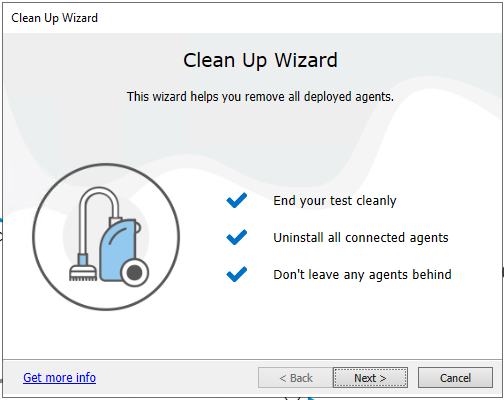
- Click Next.

- Click Finish.
You will see that the OS Agents deployed in the session have been uninstalled.

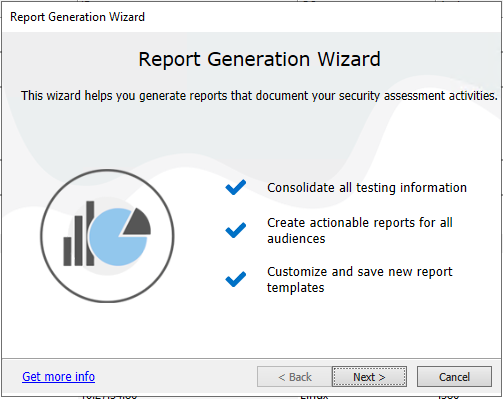
Generate report of vulnerabilities
Finally, we'll generate a Vulnerability Report to show the vulnerabilities identified and leveraged in the workspace.
- From the RPT Pane, select and click Network Report Generation RPT.
- Click Next.
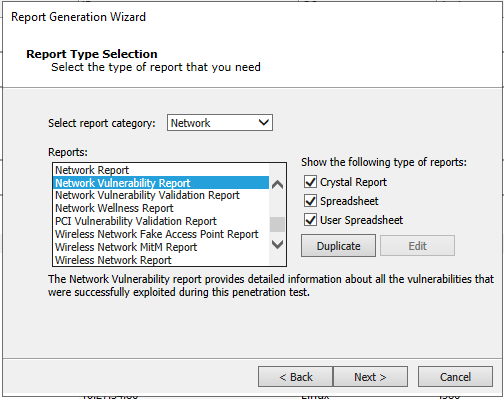
- Select Network Vulnerability Report and click Next.
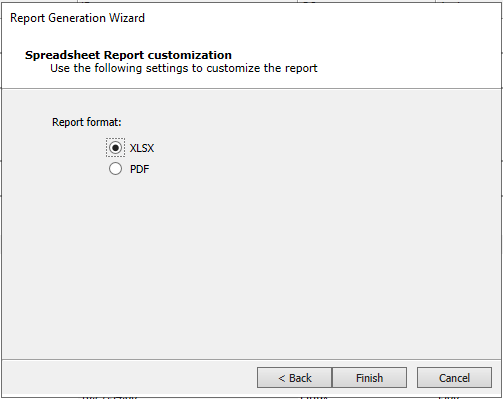
- Click Finish.
The Network Report Generation RPT module will generate the report and open it using the program associated to open Excel spreadsheets.
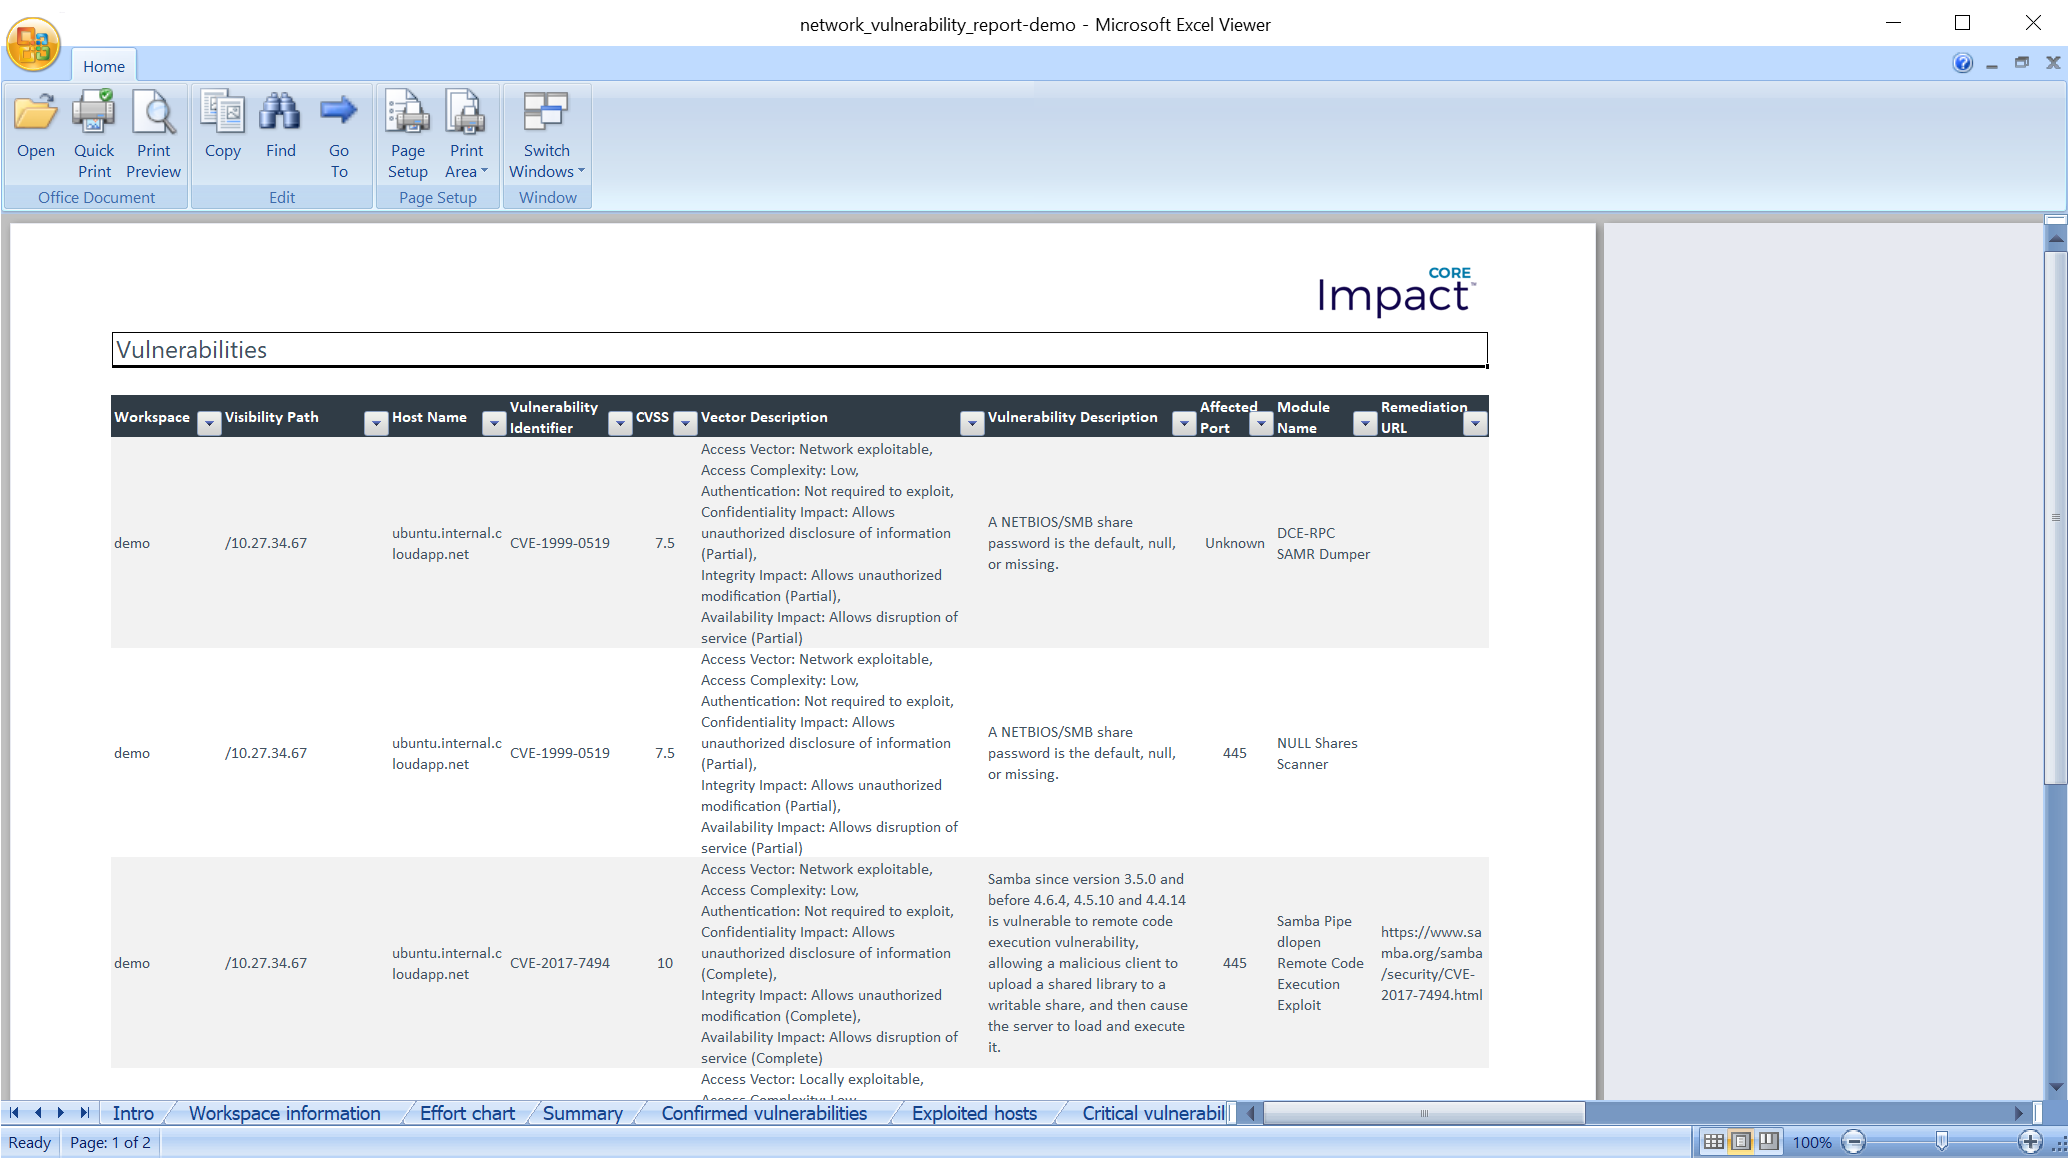
Though not shown here, Excel-based reports in Core Impact allow them to be customized after they're generated. Additionally, the user can also customize an existing Excel-based report before it's filled with the workspace's results, so that these customizations can be applied every time the duplicated report is generated. The user can update branding images, introductory texts, show/remove sections, and customize result tables and graphs.