Web Applications: How to Conduct a Successful Web Application Test
Introduction
This unit presents the steps to use Core Impact to perform Web application test.
Features
- Create scenario for a Web Application Testing
- Scan the Web Application
- Launch an Attack to validate the Top 10 OWASP Security Risks
- Review exploited pages and check installed agents
- Install OS agent through a web agent
- Perform cleanup of deployed Agents
- Generate report of found vulnerabilities
Highlighted Modules
- Web Apps Information Gathering RPT
- Web Apps Attack and penetration
- Install OS Agent using OS Command Injection Agent
- Report Generation
Walkthrough
Hosts
- Web Application target host
- Hostname:
webapps - IP Address:
10.27.34.87 - Target web application:
http://10.27.34.87/mutillidae/- User:
samurai - Password:
samurai
- User:
- Hostname:
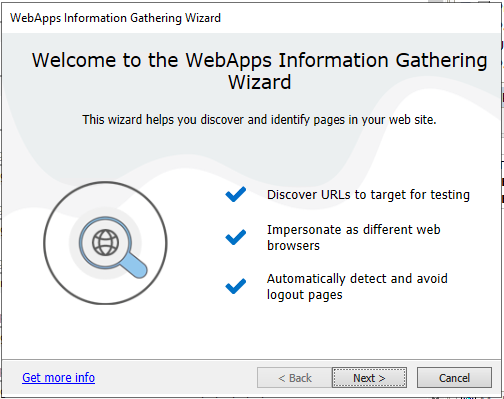
Web Application Information Gathering
- From the RPT Pane, select and click Web Applications Information Gathering RPT to crawl the web application. Click Next
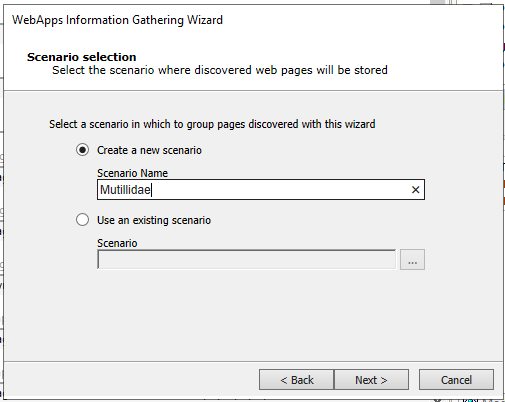
- Mark Create a new scenario and set the Scenario Name to
Mutillidae. Click Next.
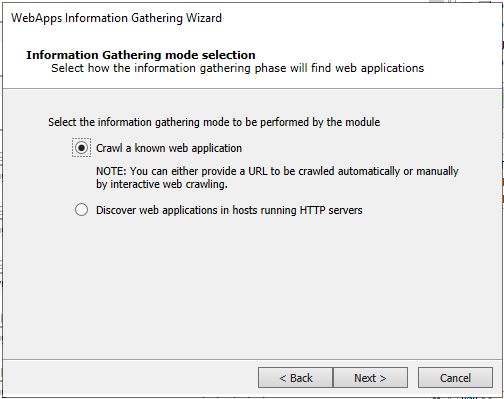
- Mark Crawl a known web application. Click Next.
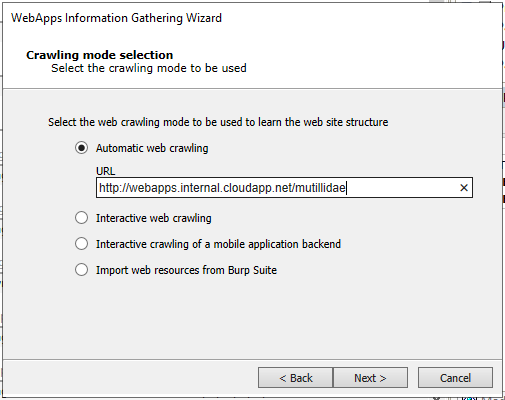
- Mark Automatic web crawling and set the URL to
http://10.27.34.87/mutillidae. Click Next.
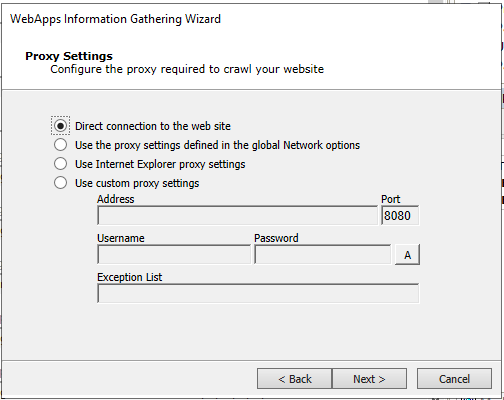
- Click Next.
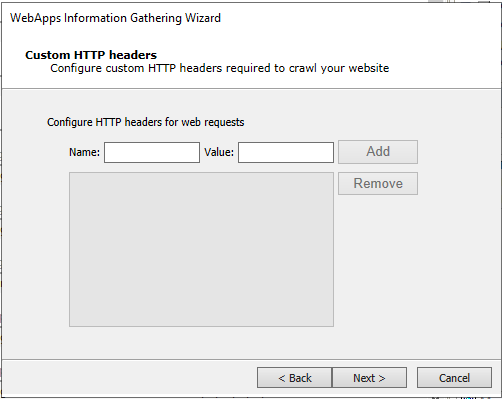
- Click Next.
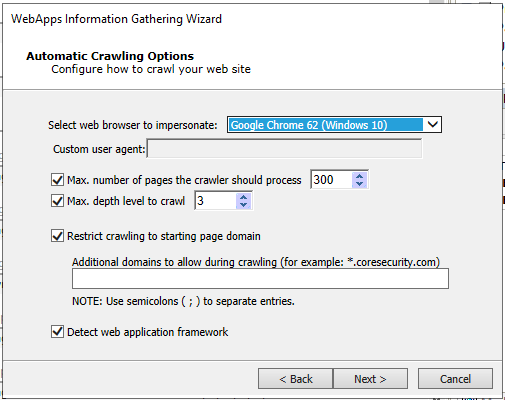
- Click Next.
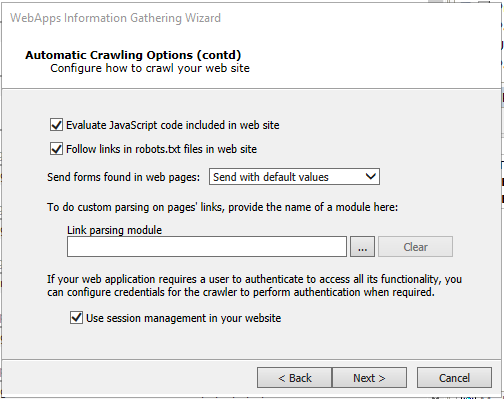
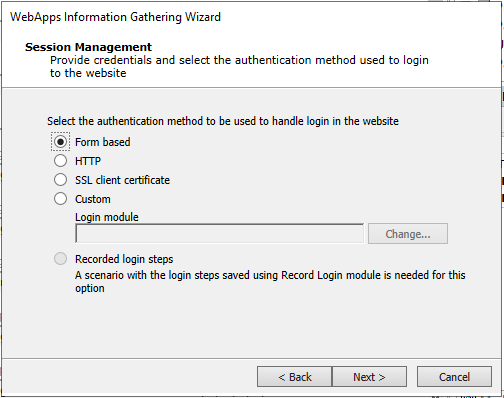
- Check the option Use session management in your website. Click Next.
- Mark the option Form based. Click Next.
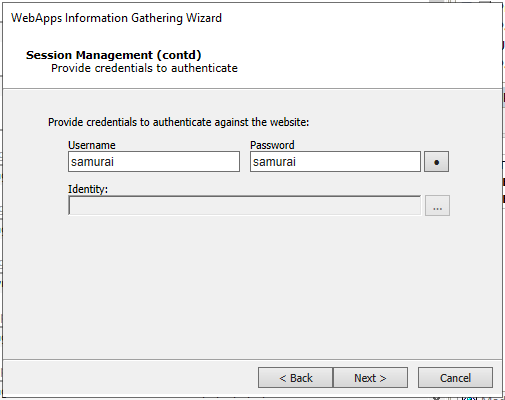
- Provide the credentials (user:
samurai, password:samurai). Click Next.
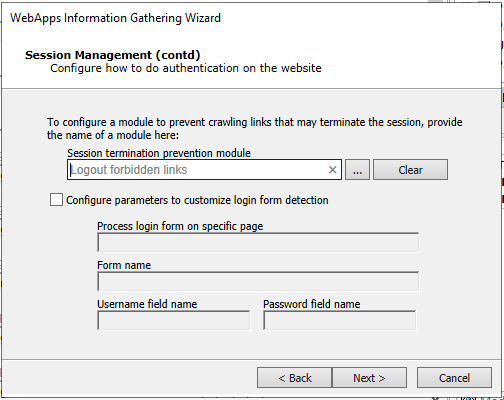
- Click Next.
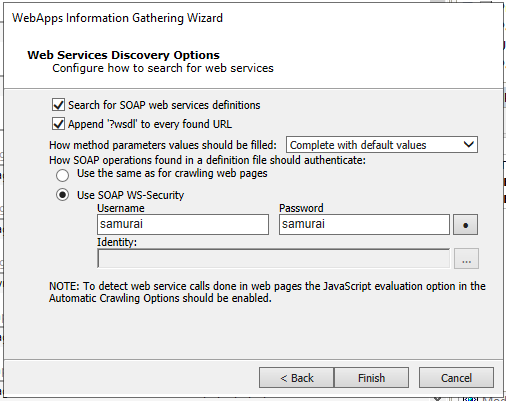
- Check the option Append '?wsdl' to every found url. Provide the credentials (user:
samurai, password:samurai) for SOAP WS-Security. Click Finish.
- Wait for Web Applications Information Gathering RPT to complete gathering information.
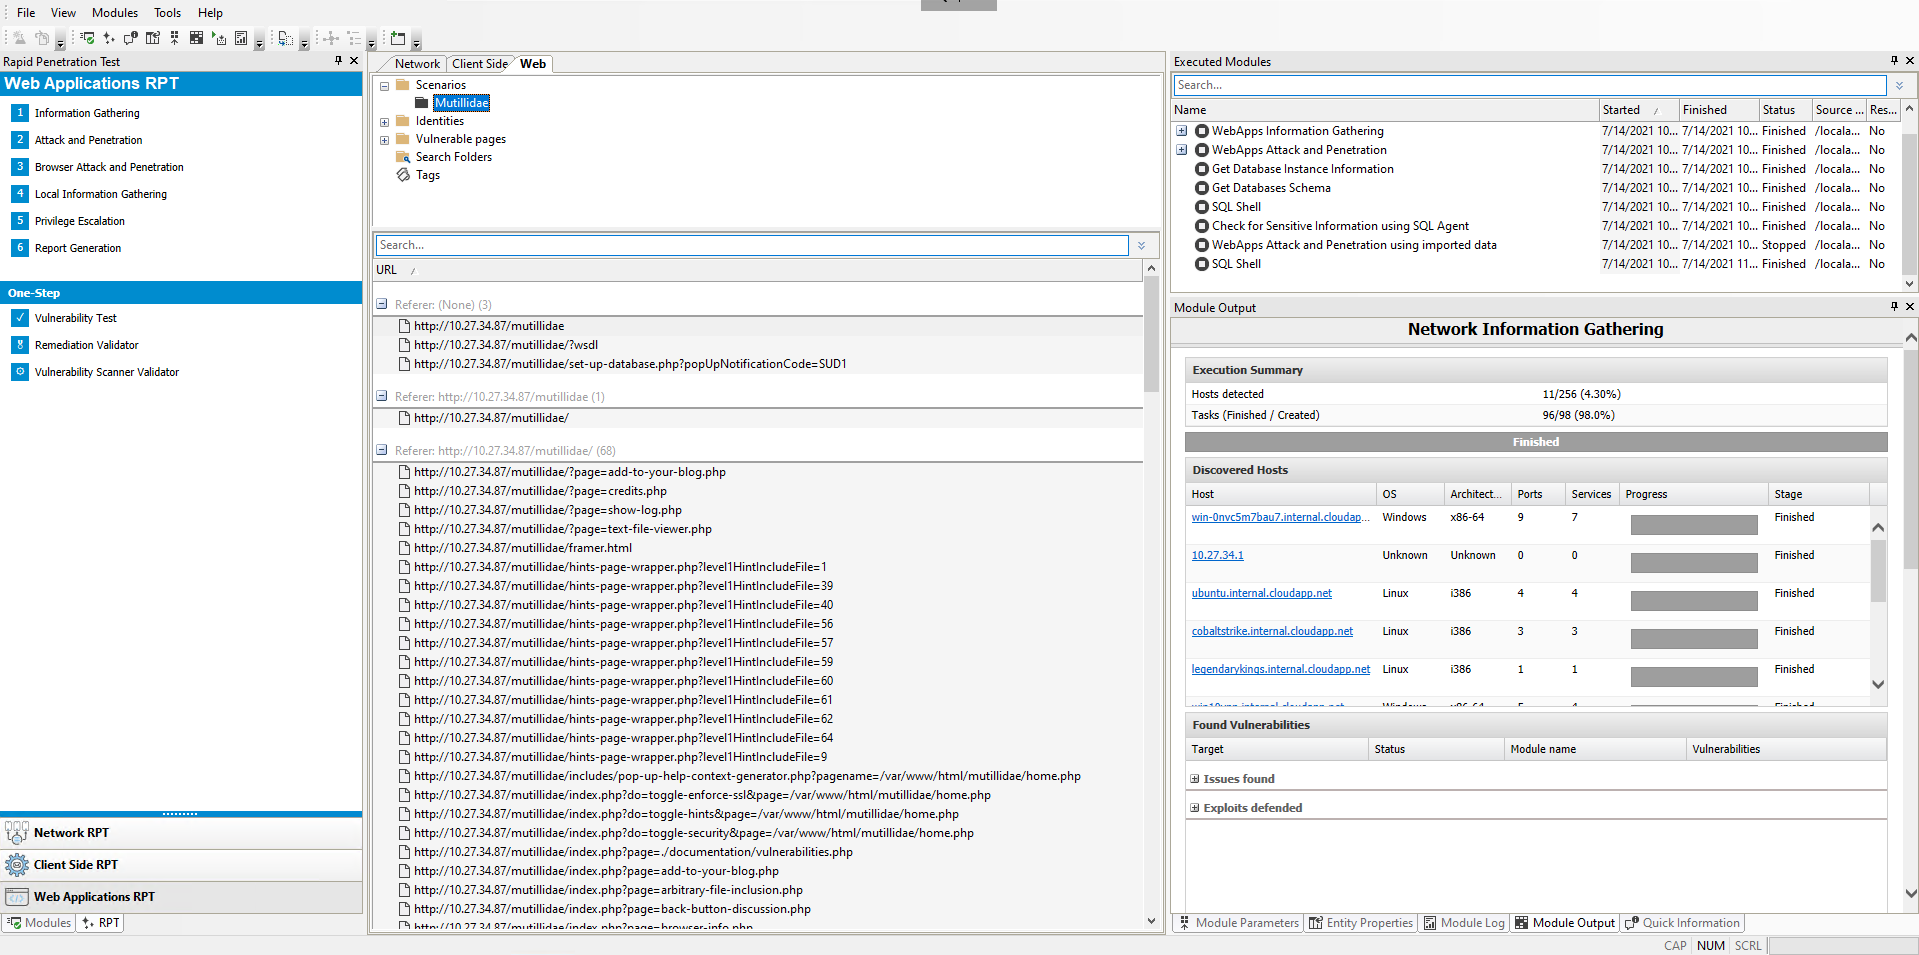
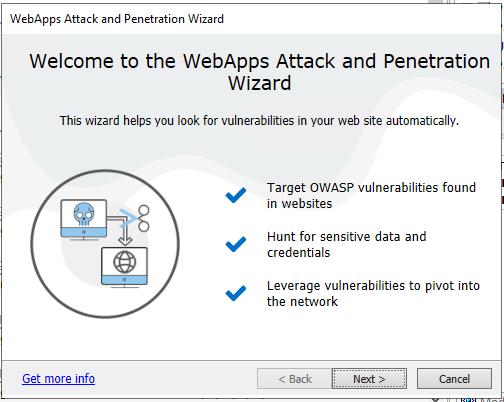
Web Application Attack and Penetration
- From the RPT Pane, drag & drop Web Applications Attack and Penetration RPT on the ````Mutillidae``` scenario. Click Next.
- Verify that the target is set to
Mutillidae. Click Next.

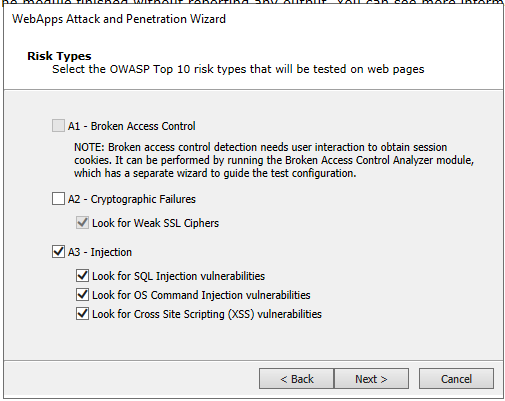
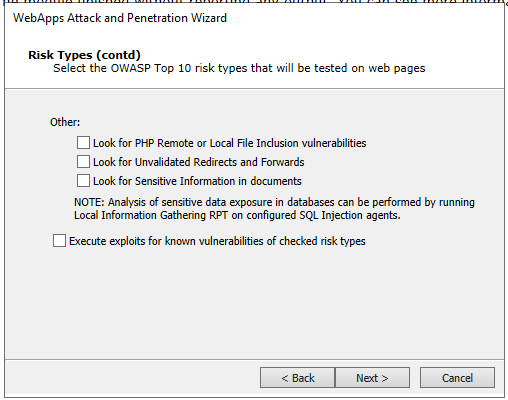
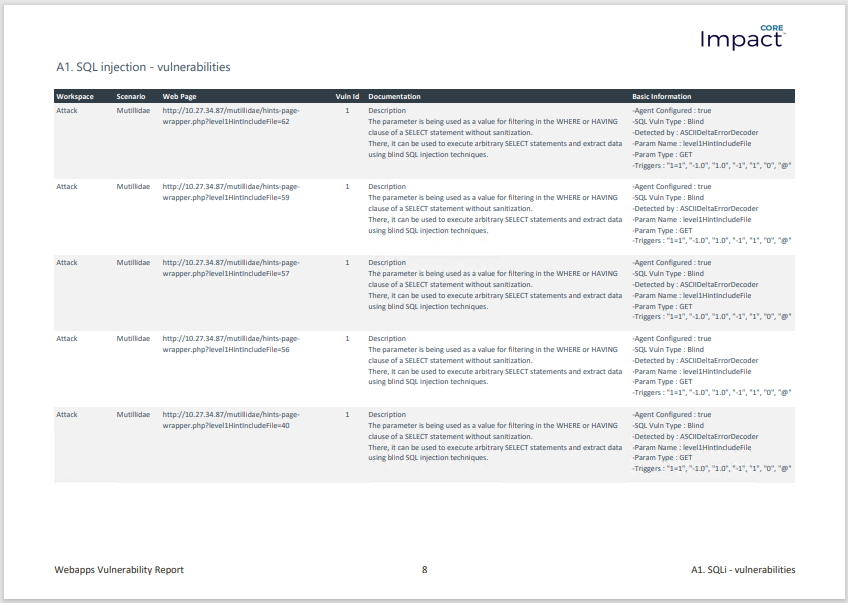
- Check A3 - Injection option only. Click Next.
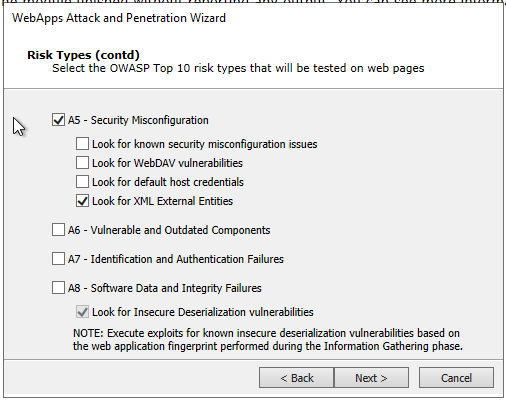
- Check A5 - Security Misconfiguration > Look for XML External Entities options only. Click Next.
- Uncheck all options. Click Next.
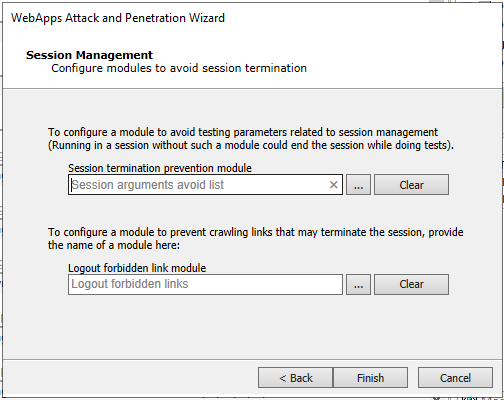
- Click Next.
- Click Next.
- Click Finish.
- Wait for Web Applications Attack and Penetration RPT to finish. Several agents will be deployed.
This process can take several hours. You can leave it running during the night.
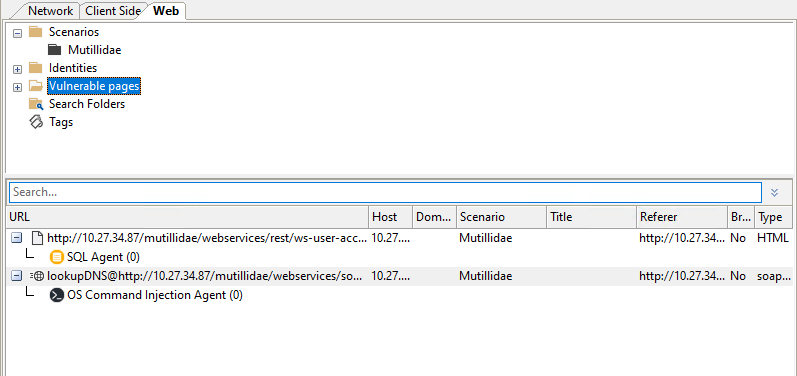
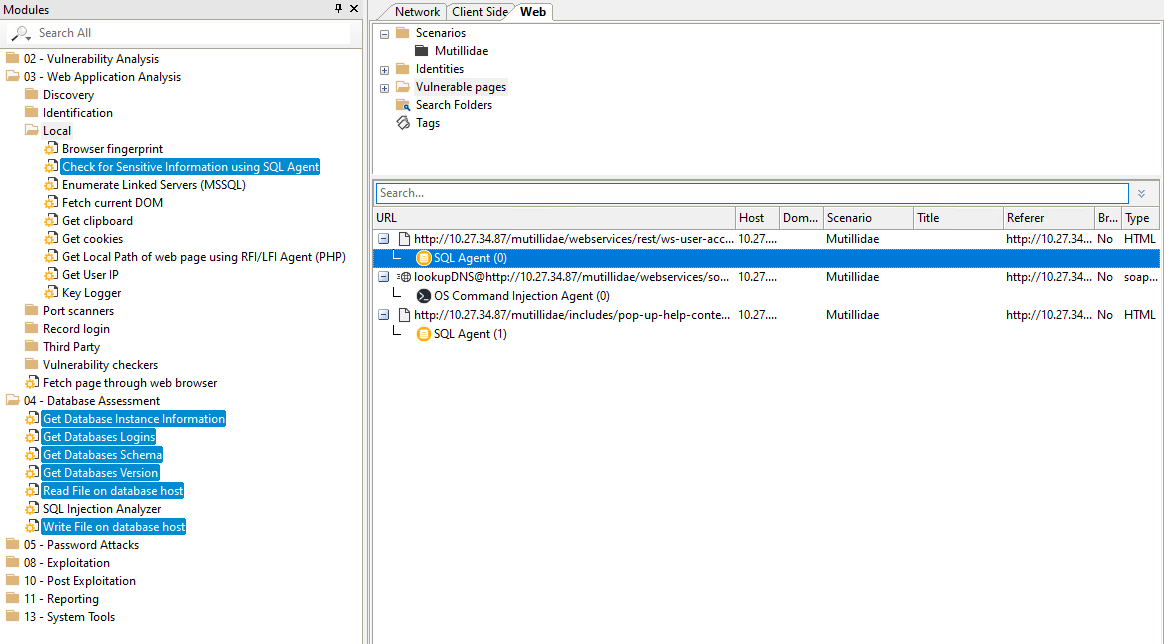
Interacting With Deployed Agents
- The deployed Agents can be leveraged to gain additional information such as getting the DB schema, Logins or DB version. Simply "drag and drop" the highlighted module onto the logical agent
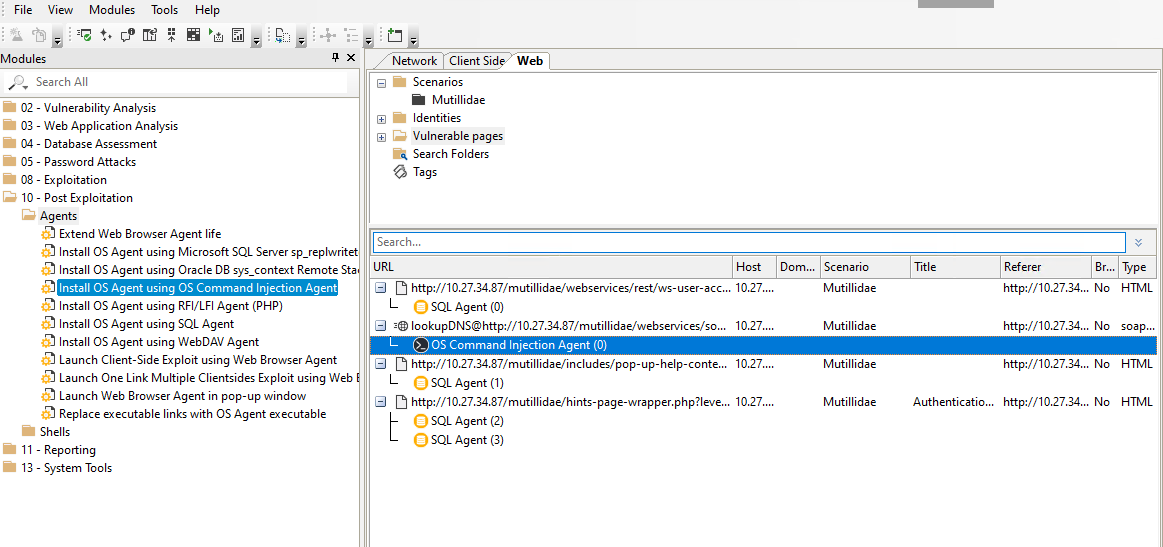
- Deploy an OS Agent using the previously deployed OS Command Injection Agent. Simply "drag and drop" the module
Install OS Agent using OS Command Injection Agentover the OS Command Injection Agent.
- Go to the Network tab and validate that an OS Agent has been deployed in the
webappshost.
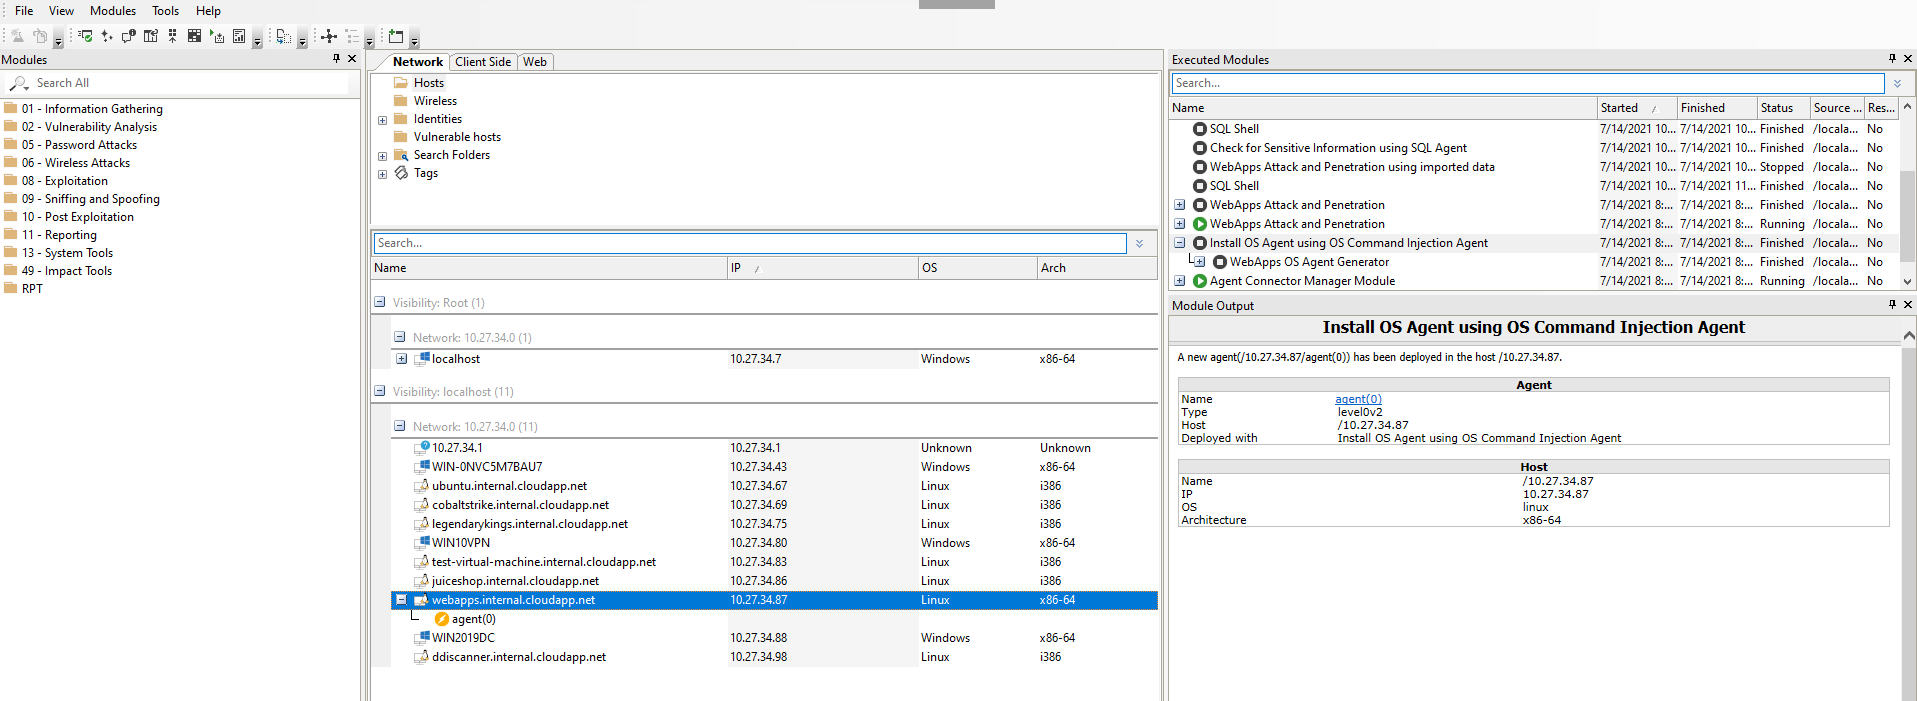
- Control of a compromised host is now possible through the deployed OS Agent. This agent has capabilities to explore the local filesystem, launch programs and create new network connections from the host. In order to explore the compromised host, Core Impact provides shells and file browsing capabilities.
- Right-click on the OS Agent deployed on the
webapps(10.27.34.87) host, and select Shell. - You can execute commands to explore the filesystem and launch programs on the host.
- Right-click on the OS Agent deployed on the
Generate Report of the Web Application Test
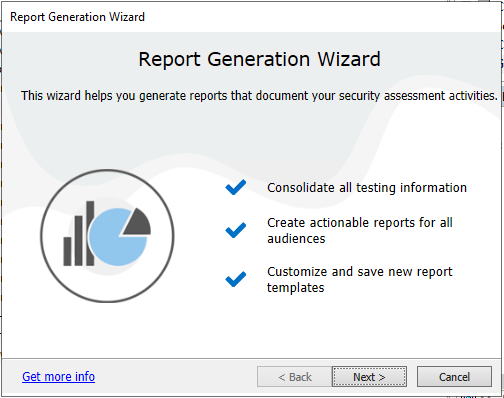
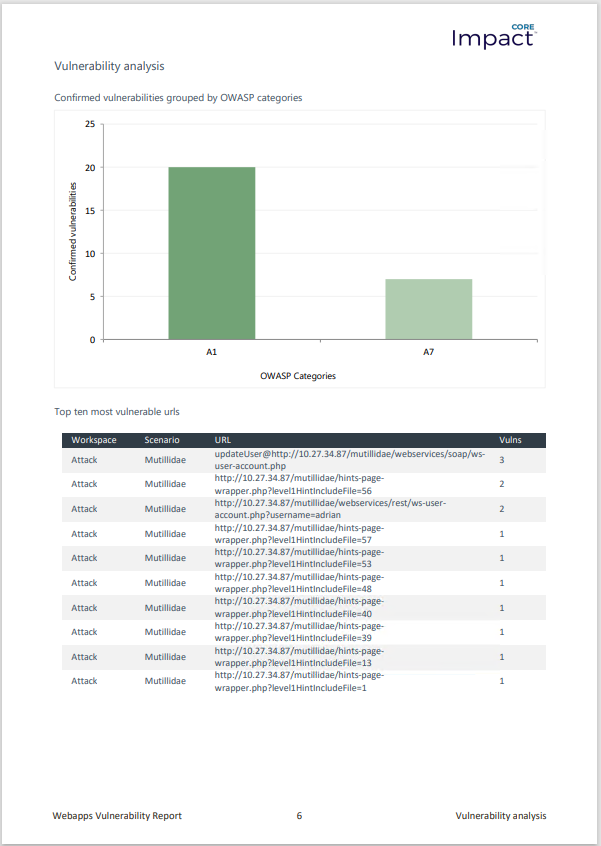
Finally, we'll generate a Web Vulnerability Report to show the results of the Web Application test.
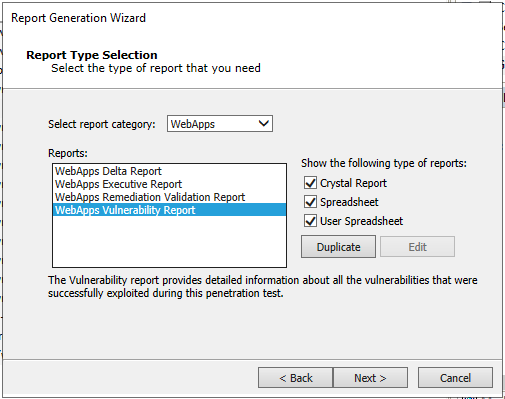
- From the RPT Pane, "drag and drop" the Web Applications Report Generation RPT on
Mutillidaescenario.
-
Click Next.
-
Select WebApps Vulnerability Report and click Next.
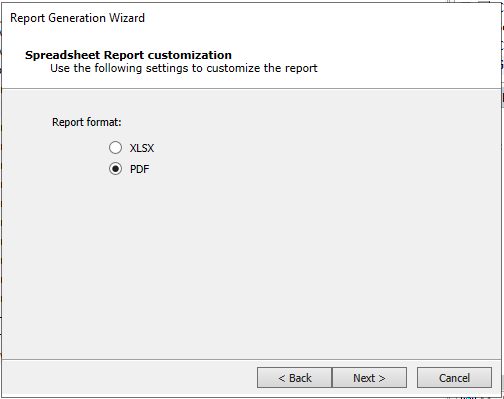
- Select PDF format and click Next.
- Click Finish.
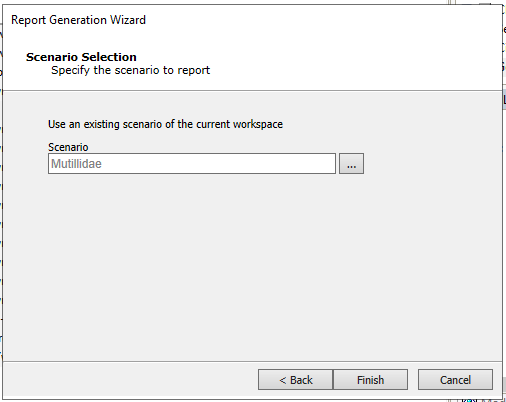
- The Web Applications Report Generation RPT module will generate the report and open it using the program associated.
Though not shown here, Excel-based reports in Core Impact allow them to be customized after they're generated. Additionally, the user can also customize an existing Excel-based report before it's filled with the workspace's results, so that these customizations can be applied every time the duplicated report is generated. The user can update branding images, introductory texts, show/remove sections, and customize result tables and graphs.